

How to Reduce Tail Waste in Tube Laser Cutting
Time : Oct 16, 2026 Vistas: 100
Trimming tail waste in tube laser cutting begins with measuring leftover material. You need to check the scrap after every single job. Good nesting shrinks this unused length. Also, proper chuck movement and solid support will expose more of the tube for cutting. Even with these tweaks, the final part must meet size and surface standards. Before buying new equipment, look closely at the current process. Separate the losses caused by poor cutting plans from the limits of machine clamping.
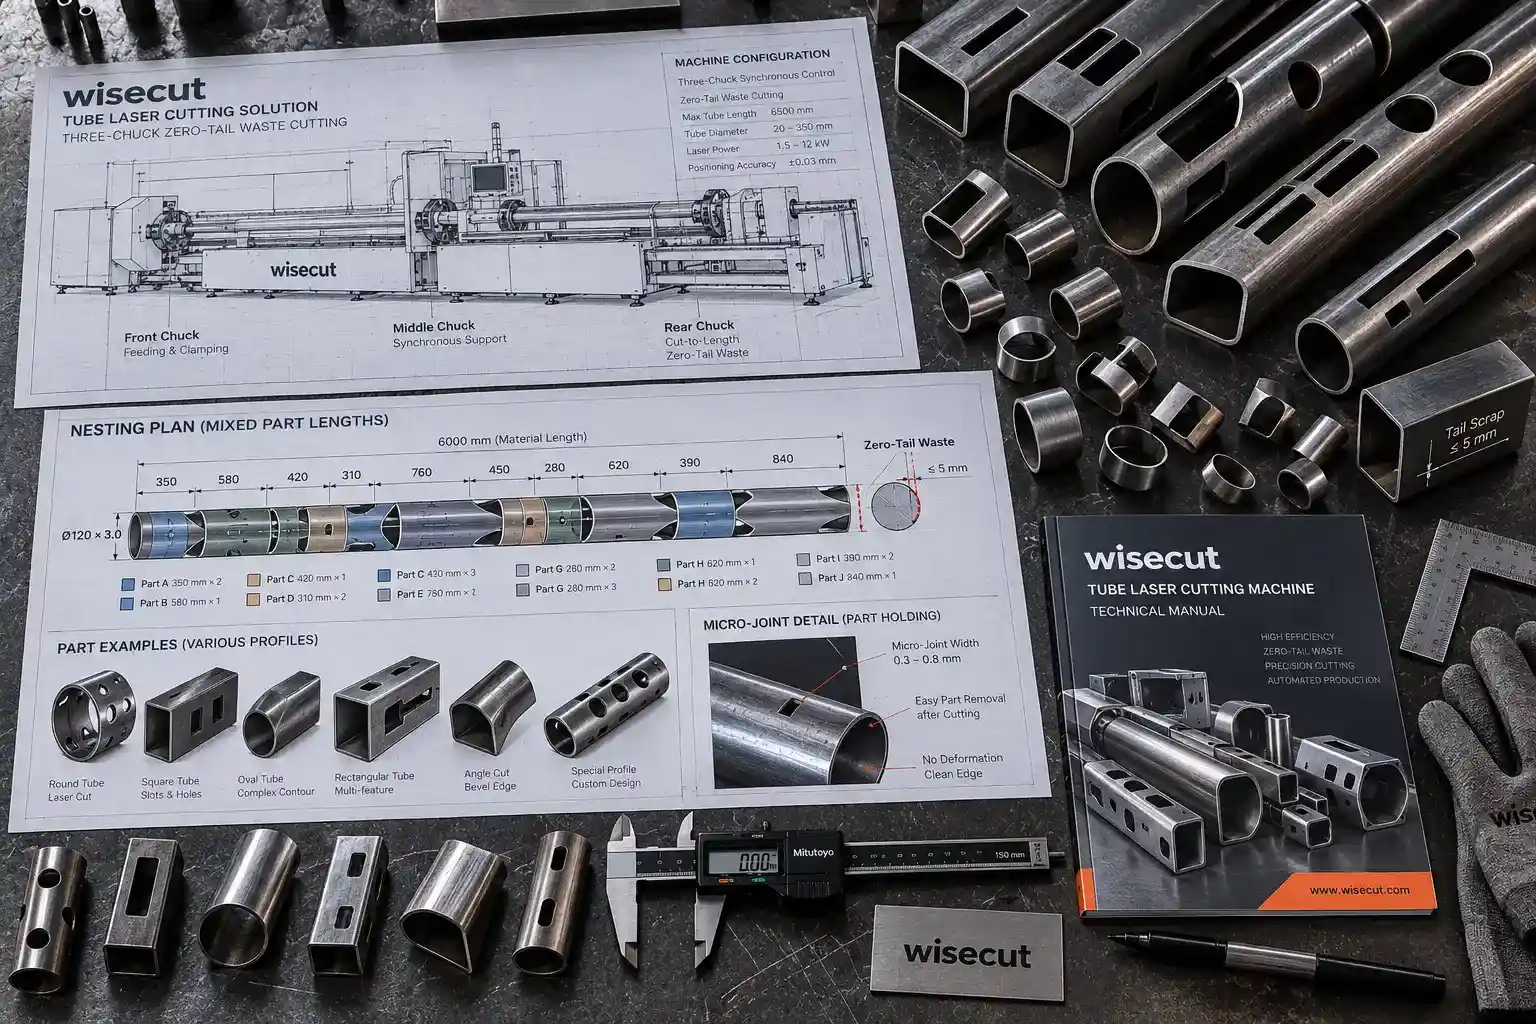
Identify Where Tube Material Is Lost
Different kinds of material loss require unique fixes. For instance, mechanical tail waste happens when metal is held for gripping. Chuck and cutting head clearances can also restrict this space. Nesting remainder is simply leftover stock. This occurs because the planned parts fail to fill the whole available length.
Other common losses come from front trimming, cutting kerfs, and rejected items. If a remnant is still usable, put it back in inventory. Keep it there until you figure out how to use it later.
Make sure to track these waste categories during normal jobs. Note the tube dimensions, stock length, and part lengths. Record accepted quantities and the remaining scrap. It is smart to keep rejected final parts separate from normal clamping tails. Doing this keeps quality issues out in the open.
Stick to one reporting method during the whole review. For example, you might calculate usage by dividing accepted part weight by input stock weight. If so, use that exact math for every single test. Track reusable pieces separately to follow their future use. When looking at different tube laser cutting machines, ask a key question. Find out how each setup manages the tube near the very last cut. This links the waste records to the feeding and gripping styles required for the specific work.
Improve Nesting Before Changing Equipment
Nesting shrinks the dead space between planned parts and the machine’s actual cutting range. Start by taking highly accurate stock measurements. Then, match those numbers to the correct machine limits.
Combine Compatible Part Lengths
Try mixing short and long pieces. Do this when the material grade, profile, and wall thickness match up. Delivery schedules must align, too. A tiny component often fits nicely into the gap left by a few long ones.
The cutting plan has to account for kerf width and front trimming. Do not forget the required clamping allowance. Look closely at the cutting order near end features and shared cuts. A layout might look perfect on a screen. Yet, it still needs a real-world plan for gripping and unloading. Keep order amounts in clear view while nesting. Filling empty gaps with random extra parts just creates useless inventory.
Match Stock Lengths and Track Remnants
Compare current stock lengths with parts made often. Buying a slightly different length might slash leftover waste for repeat jobs. Naturally, this depends on supplier stock, shipping rules, and machine limits.
Always label reusable scraps. Write down their length, material type, section size, and job reference. Store these pieces in a spot where planners will actually see them before ordering fresh metal. Check the minimum reload length for the exact machine. Make sure to review its gripping needs. A leftover piece is only helpful if the machine can load it, grip it tight, and cut a good part.
Match the Chuck Strategy to the Final Part
The final tail length relies on chuck travel and physical clearance. Tube dimensions and the shape of the last part matter a lot, too. Look at all these factors together when picking a cutting setup.
Check the Conditions Behind Zero Tail
A moving rear chuck can slide inside a matching front chuck. This action pushes more of the tube into the cutting zone. The two-chuck tube cutting system from WiseCut uses this trick to shrink the final tail. Test its actual performance with specific section sizes and part lengths used daily.
Keep in mind that zero-tail operation is just a specific cutting state. Total waste still adds up from kerfs, front trimming, poor nesting, and rejected items. For the WT-6035T three-chuck tube laser cutting machine, the specific zero-tail condition requires finished products to be at least 1,150 mm long. Shorter products need a combined cutting length above 1,150 mm. This is done through nesting and micro-joining. Always double-check the right clamping mode and tube size during trial runs.
Assess Multi-Chuck Cutting and Micro-Joints
Adding more chucks gives the tube better support when grip positions shift. For example, a four-chuck tube cutting layout can use reversed cutting. This reaches metal right near the very end. Always ask the vendor for a demo. Have them use the shortest parts and typical profiles.
Micro-joints link pieces together for easier handling. Remember to count the time it takes to snap them apart and file the edges. Some jobs demand perfect, smooth ends. Those tasks will need extra finishing work. That extra labor eats into the cash saved by keeping the scrap.
Keep the Last Part Stable and Usable
The final cut part needs strong support during cutting and drop-off. As the leftover tube gets smaller, the grip setup changes fast. This shift can easily hurt part quality and placement.
Check the chuck alignment and the safe clamping pressure. Look at the support movement and the straightness of the tube. Thin walls need intense care. Too much grip force will bend and ruin the section. Always measure the final component’s size and check its edges after it drops.
Run a machine simulation first. Follow the maker’s safe steps to check clearances and the cutting order. Leave all collision limits, guards, and minimum grip rules turned on. Sometimes, shrinking the clamp allowance causes the metal to slip or bend. If that happens, talk to the equipment supplier right away. Stop production until it gets fixed. Watch the unloading step closely, too. A perfectly cut piece can easily get dented when it falls into the collection bin.
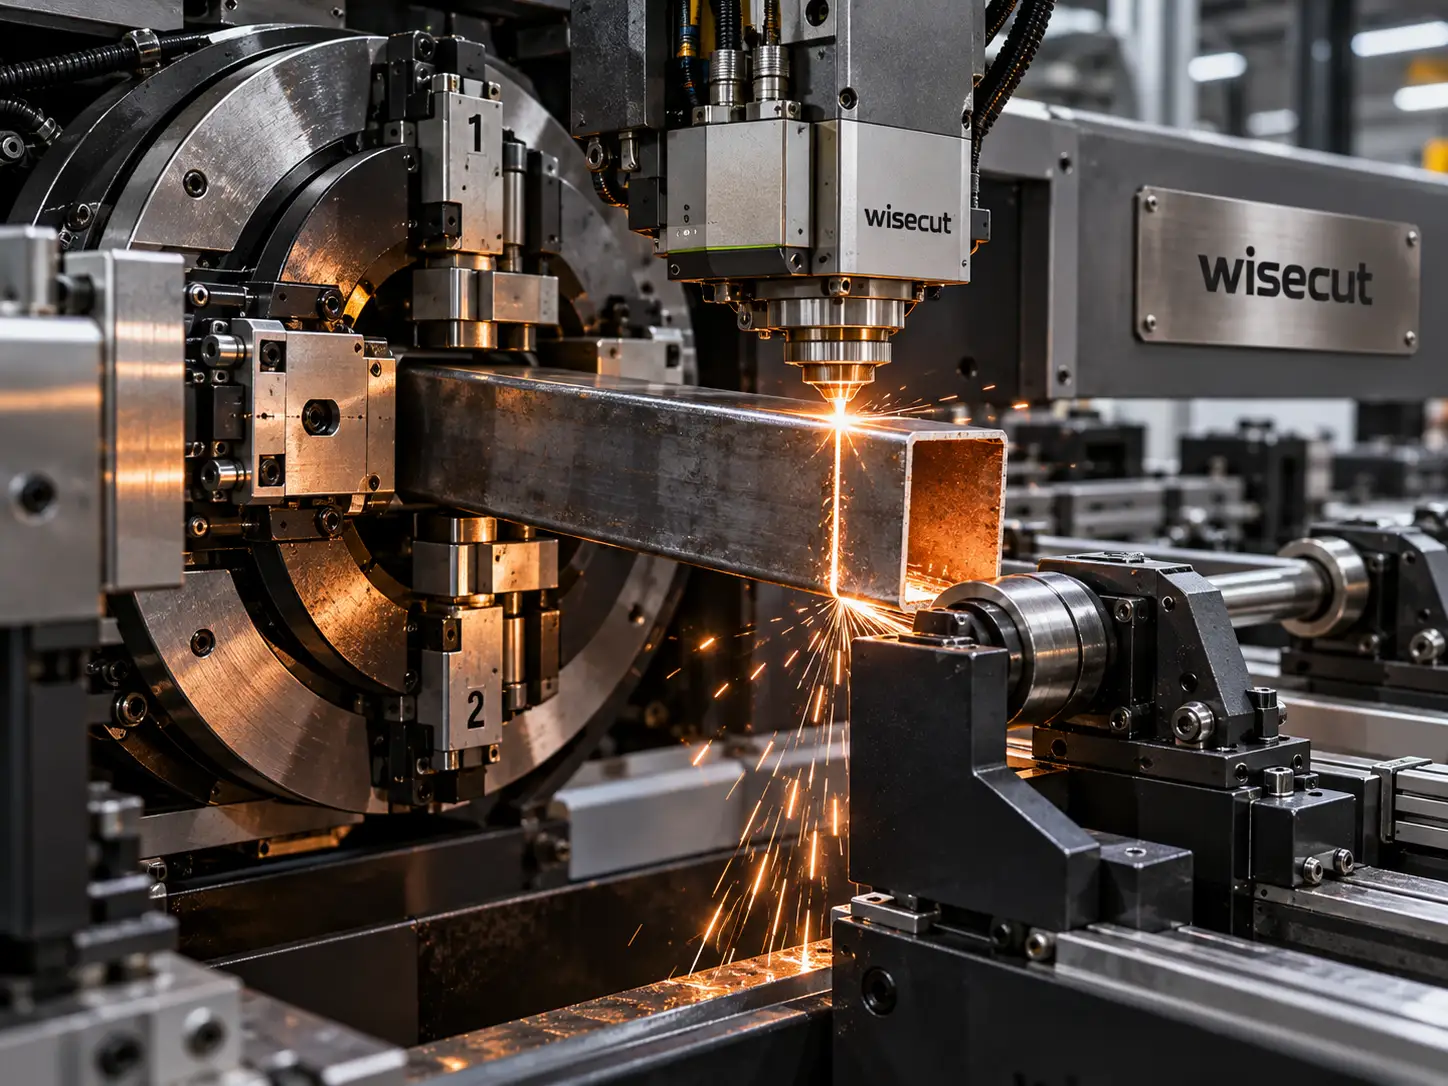
Verify Savings with a Representative Cutting Test
A solid test measures good output, scrap, and total labor time. Pick metal stock and blueprints that match daily work. Be sure to throw in some tricky short pieces.
Track these details for the old process and the new setup:
- Starting tube length and the actual measured final tail.
- Count of good parts versus bad rejected components.
- The cutting cycle and the machine loading time.
- Manual labor and micro-joint finishing hours.
Run the test enough times to spot steady trends. Keep the metal grade, size, and quality rules the same. Toss orders with mixed part lengths into the test run. A machine built for long pieces might struggle with tiny chunks. Write down every machine setting so shop workers can copy the results later.
Here is simple math to show the savings. Saving 0.20 m per tube over a batch of 500 tubes keeps 100 m of material out of the trash. If the metal weighs 3 kg/m, that equals 300 kg. Multiply that saved mass by the purchase price per kilogram. Then, subtract the basic scrap recovery cash you would normally get. Remember to track any changes in labor and processing costs separately.
WiseCut’s chuck designs provide clear options to test against these numbers. Discuss specific tube cutting requirements using tube specifications, part drawings, and normal production quantities. Ask for solid proof of the achievable tail length and handling limits for the proposed setup.
Preguntas frecuentes
Can a Tube Laser Cutting Machine Achieve Zero Tail Waste?
Certain machine designs can cut the very end of the clamped metal. However, this only works under strict rules. Verify the tube size, part length, and cutting sequence. The gripping mode matters heavily. Total waste still includes kerfs, tip trimming, and rejected parts.
Does Adding More Chucks Always Reduce the Remaining Tail?
Simply having more chucks does not guarantee a tiny tail. The real limits come from physical travel, clearance, and part support. Control over that final falling piece decides how much metal gets cut. Always compare direct trial results for the exact same parts.
Can Short Parts Be Combined to Reduce Tail Waste?
Yes, matching short pieces can be nested close together. Using micro-joining helps meet minimum processing length limits. But, check the separation time, edge finishing, and part unloading before making it a daily habit on the shop floor.
When Is a Tube Remnant Suitable for Reuse?
A scrap piece needs decent length for safe machine loading. It must allow tight gripping and fit the intended component size. Confirm the metal identity and check for surface damage. Then, apply the specific machine’s minimum length rules and clearance gaps.


